Deep Dive: Nutanix In-Place Hypervisor Conversion (ESXi to AHV)
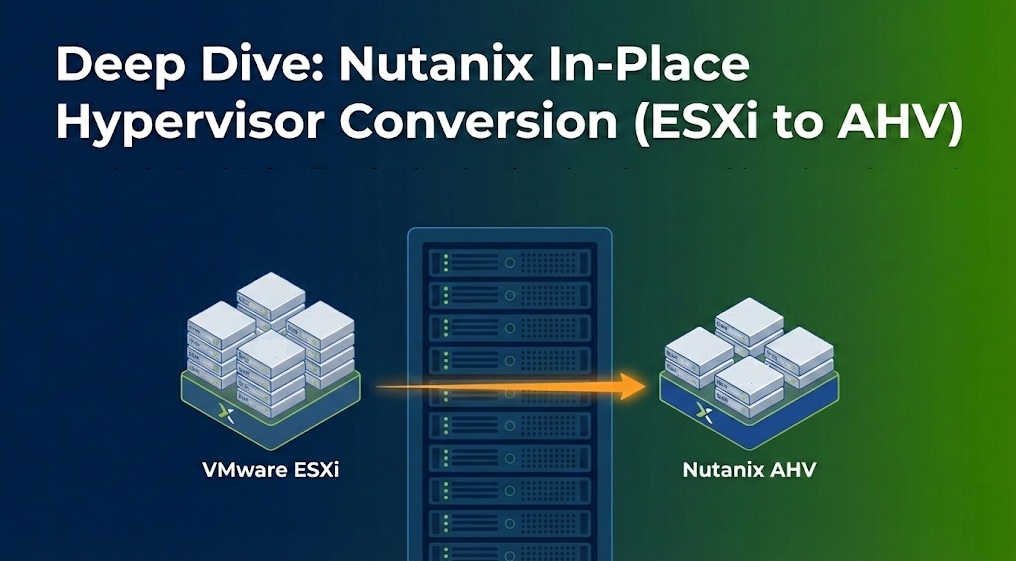
Modernizing your infrastructure doesn’t always require complex migrations. The Nutanix In-Place Hypervisor Conversion allows you to transform an entire cluster from VMware ESXi to AHV while keeping your data local and secure. This native “1-click” feature simplifies the transition significantly.
Critical Technical Prerequisites
Before initiating the conversion, verify these specific cluster and networking requirements:
- NGT Tools: You must install Nutanix Guest Tools (NGT) on all guest VMs, as they include the virt-io drivers required for VMs to boot up after the conversion.
- Networking: Every host must have one external vSwitch configured with a homogeneous uplink NIC team.
- NIC Selection: The NIC team should include all physical NICs of the chosen speed.
- Load Balancing: Note that LACP-based load balancing is not supported on the NIC team during this process.
- Post-Conversion State: The NIC team will automatically be set to an active/passive state once the conversion is complete.
- Disaster Recovery: All DR activities must be paused for the duration of the cluster conversion.
- VMware Features: Ensure both HA (High Availability) and DRS are enabled on the source ESXi cluster.
Step-by-Step Conversion Procedure
Following the official Nutanix workflow, here are the steps to execute the conversion via Prism Element:
1. Initial Configuration
- Log into the Prism Element web console.
- Click the Gear Icon (Settings) in the top-right menu.
- Select Convert Cluster from the Settings page.
2. Hypervisor and Boot Selection
- From the Available Hypervisor drop-down menu, select AHV.
- Choose your VM Boot Options:
- Preserve power state: Select this to keep the original power state of your VMs (recommended for automated startup).
- Power Off User VMs: Select this if you prefer to shut down all VMs manually before the process starts.
3. vCenter Validation
- Click Validate.
- Enter the vCenter Server IP Address and the administrator Username and Password.
- The system will run a validation check to ensure all prerequisites (Networking, NGT, and DR status) are met.
4. Binary Upload and Execution
- In the Software Upload dialog, upload the AHV ISO binary you downloaded from the Nutanix Support Portal.
- Click Convert Cluster.
- A confirmation message will appear. The cluster will transition to Read-Only mode for administrative tasks while the rolling conversion takes place.
Post-Conversion Expectations
- Duration: The total process usually takes 3 to 4 hours, depending on the size of the cluster.
- Availability: Because the conversion is performed in a rolling manner, individual VM downtime is typically less than 5 minutes.
- Tracking: You can monitor the live progress of the conversion through the Prism Task dashboard.
Conclusion
Transitioning to AHV reduces licensing overhead and prepares your environment for native Nutanix automation. By following these steps and prerequisites, you ensure a stable and predictable outcome for your critical workloads.